前言
本文是对 Spring Security Core 4.0.4 Release 进行源码分析的系列文章之一;
本文为作者的原创作品,转载需注明出处;
简介
本章,笔者将试图通过一个 Spring Security 的 Demo 来简单描述一下 Spring Security 过滤链是如何工作的;该例子中将会分别创建两个 SecurityFilterChain,一个是 /web/**,一个是 /rest/** 的过滤链;
Demo
该 Demo 是基于 Spring Boot Web Security 所构建而来;根据当前项目需要,版本稍低 1.3.8.RELEASE;
POM
1 | <project xmlns="http://maven.apache.org/POM/4.0.0" xmlns:xsi="http://www.w3.org/2001/XMLSchema-instance" xsi:schemaLocation="http://maven.apache.org/POM/4.0.0 http://maven.apache.org/xsd/maven-4.0.0.xsd"> |
DemoApplication
1 |
|
通过 WebSecurityConfigurerAdapter 配置实现了两个 Spring Security 过滤链,一个是 /web/**,一个是 /rest/** 的过滤链;从名称上可以清晰的看到,一个过滤链是用来处理 web request,另外一个过滤链用来处理 restful request;
web request 过滤链
使用 Form Login 的方式进行登录验证;
用户需要由 MANAGER 角色才能访问相关资源;
使用 CSRF token filter 进行验证;
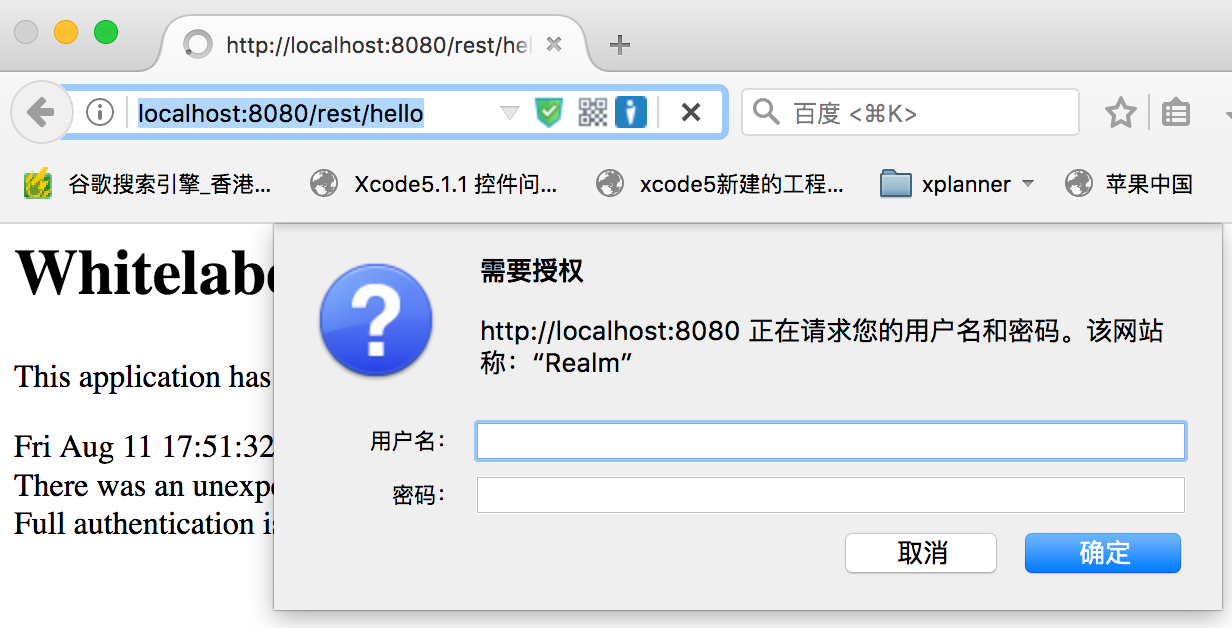
……restful request 过滤链
使用 Basic Auth 的方式进行登录验证;
用户需要由 USER 角色才能访问相关资源;
不使用 CSRF token filter 进行验证;
……
Web 登录
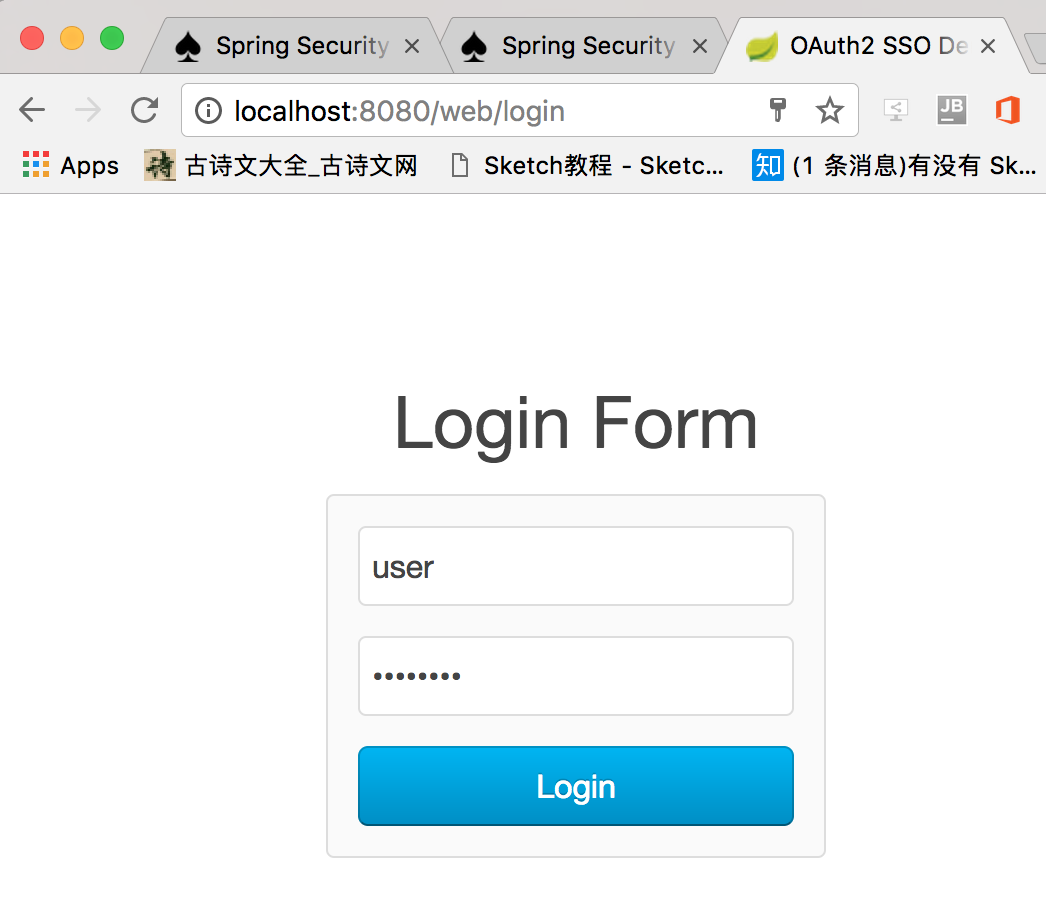
走 login form 的流程,针对该流程,Spring Security 会提供基于 URL /web/login/ 的 post 请求的方法,用来验证用户基于表单的认证请求;
login.html
1 |
|
注意,这里 form 表单的提交必须使用链接 /web/login;
1 | <form class="uk-panel uk-panel-box uk-form" method="post" th:action="@{/web/login}"> |
如果,将表单的提交链接错误的写成了 /login,
1 | <form class="uk-panel uk-panel-box uk-form" method="post" th:action="@{/login}"> |
如果是这样设置的话,用户登录以后将会报错,报错提示根据相关链接 /login 找不到对应的 Controller;根本原因是,/login 访问链接不能命中 /web/** 安全链,而 login form 既处理表单的部分是通过该安全链中的一个 Filter 既是LoginFilter来处理的,而该 Filter 的拦截链接在初始化的时候,其拦截地址,既是 loginUrl 必须匹配 /web/** 的规则,所以,初始化后,loginUrl 的初始值为 /web/login;
Restful 登录